
360° virtual tours
Bring the site back into view.Not just its geometry.
Combine 360° panoramas, point clouds and other 3D data in one ATIS.cloud project. Clients recognise the location in their browser; your team has the visual context and geometry to make the survey easier to discuss.
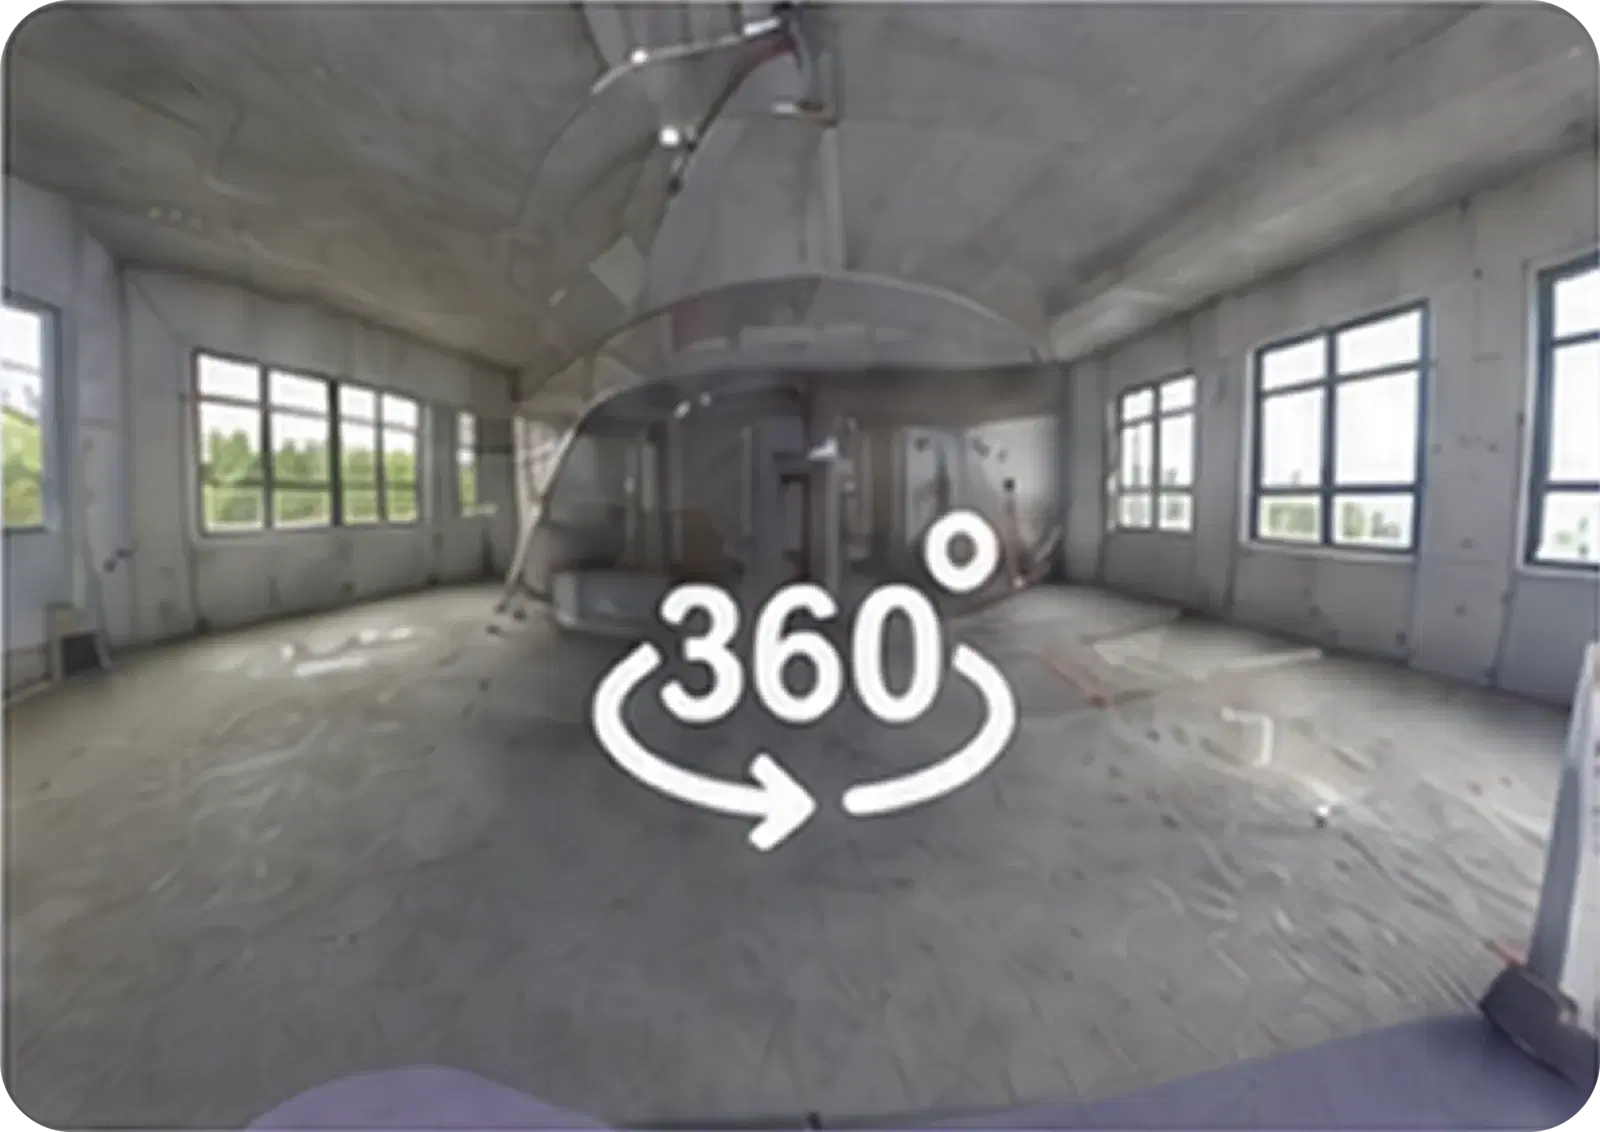
One project to recognise the place and understand the space. Import the survey with its panoramas, return to the capture positions and share the tour with the people who need to inspect the site.
One survey, two ways to read it
Recognise the place. Understand the space.
A photograph helps people recognise a room, a piece of equipment or a visible material. The point cloud shows shape and position. ATIS.cloud brings those representations together with the project's other compatible 3D resources, so you can move between photographic context and geometric analysis as the question requires.
360° image
What did this location look like?
- See the surroundings recorded at capture time.
- Recognise a space from an available camera position.
- Move between the panoramic images in the project.
Point cloud
How is this space arranged?
- Read the geometry recorded by the survey.
- Explore the captured volumes from different angles.
- Use the 3D data for the relevant analysis tools.
Make the survey easier to discuss
Prepare for an intervention
Locate equipment and review its visible surroundings before a meeting or intervention. Prepare questions from the survey imagery and identify what needs to be confirmed on site.
Walk a client through an existing building
Give owners and other stakeholders who do not work with 3D data every day a recognisable starting point. An image can ground the conversation in a room or location they understand.
Resolve an unclear view
A photograph can clarify a part of the cloud that is difficult to interpret. Open the corresponding view to recognise what was captured and give the discussion a shared reference.
From survey files to a shared site view
Create your account
Open ATIS.cloud and create the project for your survey and its associated resources.
Upload your point cloud
Upload survey data with embedded 360° images, or add the panoramas separately using the procedure for your capture equipment. Select 360° mode: the nearest available image opens and you can navigate from bubble to bubble.
Share with your clients
Enable sharing, choose the available tools and set link protection according to your subscription. The client opens the tour in a browser without installing your processing software.
The tour starts with the right files
Three import routes bring the survey and its photographs together. Choose the one that matches the files supplied by your scanner or processing software.
Check the supported file formatsE57 with embedded images
An E57 can include 360° images and scan positions. When exporting a terrestrial survey, preserve scan structure and panoramas using the relevant options in your software.
A complete ReCap project
Upload a compressed ReCap project with its images and associated files, following the help centre procedure.
Separately supplied images
Once the point cloud has been uploaded and activated, images can be added in a ZIP archive prepared for the source hardware and software. The information needed to associate each view depends on that workflow.
Explore further
Find step-by-step instructions in the ATIS.cloud help centre.
Discover other features
Questions about 360° survey tours
Ready to simplify sharing your 3D scans?
Join over 2,600+ companies that trust ATIS.cloud to showcase their point clouds.
Try for freeNo credit card required • Cancel anytime